The cooling liquid must not be poured on public roads. In addition, it is corrosive, so the safety instructions must be respected (see section Safety instructions). It should be taken to a workshop or to a waste collection point.
Tools needed: A complete toolbox A draining tray Sandpaper Cutter Joint filler (if the pump seal is not included in the kit).
Here at JB Prestige automotive service you will find a team of qualified professionals for the task.
When and why change the water pump of the car engine?
The function of the water pump. The combustion that takes place inside a thermal engine subjects the mechanical parts to very high temperatures. To guarantee a correct operating temperature, the engine has a cooling circuit composed mainly of a radiator, a water pump and a thermostat through which the cooling liquid passes.
The water pump circulates the cooling liquid inside this system. It consists of a propeller placed in a crankcase and is connected to a pulley by an axle mounted on a bearing. The latter also guarantees sealing (through a seal).
There are two types of drive for the water pump. It can be operated by:
- The timing belt
- The accessory strap
Why changing the water pump?
If the water pump loses liquid, the cooling circuit of the motor is no longer secured and the motor eventually overheats with the risk of malfunction. When the water pump is actuated by the timing belt (the most frequent option), the ball of the water pump can lead to decoupling or the ball joint, which is normally fatal for the engine.
When to change a water pump?
The water pump must be replaced for three reasons:
- When you have a leak
- When it stiffens (it gets cold)
- When erosion occurs on the propeller blades
Attention: the rupture of the accessory belt can interrupt the operation of the pump and, therefore, cause the motor to overheat. In this case, you only need to change the accessory belt.
As a precaution, in case of replacement (maintenance) of the timing belt, it is also necessary to change the water pump.
Dismantling of the water pump:
Depending on the location and type of water pump drive, it will be necessary to work on or under the car. In this last case, it is enough to raise the side of the car where the water pump is located.
- Raise one side of the car on a column support and disassemble the corresponding wheel. (see safety instructions + place a vehicle on column supports).
- Drain the cooling circuit until the liquid is completely drained. Always drain with the engine cold to avoid any risk of burning.
- Normally, the coolant drain screw is located on the side of the engine block and / or under the radiator.
- If this is not your case, you can also disconnect the lower radiator hose by placing the drainage tray underneath it.
- Close the cooling circuit again. It is possible that there are traces of liquid at the time of dismantling the pump.
- Remove the accessory belt (see Changing the accessory belt kit)
In this phase, if the pump is driven by the accessory belt, you can go to point 6; while if it is driven by the timing belt, follow the instructions in 8 steps below:
- Disassemble the timing belt (Change the distribution kit)
- Place the emptying tray on the floor to collect the used cooling liquid.
- If there is a hose connected to the water pump, remove the hoses from the water pump.
- Allow the cooling liquid to pour into a drain pan.
- Loosen the fixing screw of the water pump.
- Remove the water pump.
- Allow the cooling liquid to pour into a drainage tray until it is completely poured.
- Clean the cavity and the residues of the joints with the help of a cutter and sandpaper sheet.
Installation of the water pump
- Compare the old water pump with the new one.
- Replace the joint or create a joint with joint putty (if the joint is not included).
- Place the water pump on the motor.
- Tighten the pump screws.
- Reassemble the hoses in the same positions before dismantling (if any).
- Reassemble the timing belt if it has been removed.
- Reassemble the accessory belt.
- Reassemble the wheel and put the car back on the ground.
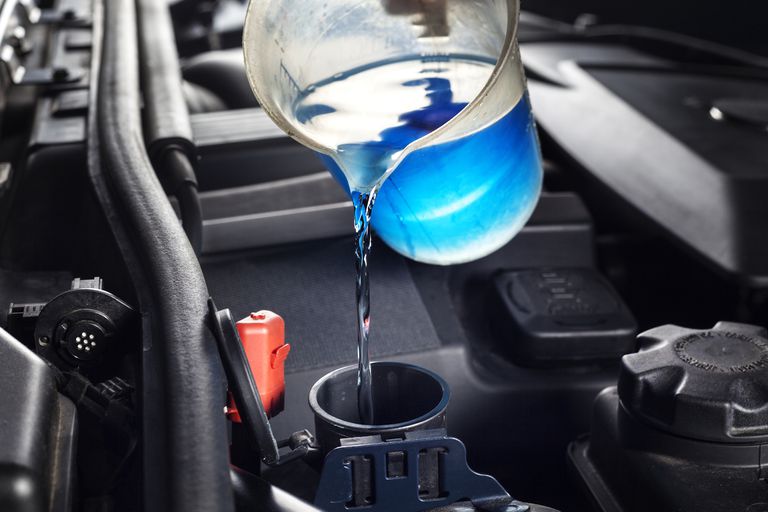
- Fill the coolant reservoir and loosen the purge valve (s) to expel air from the circuit. The purge valves can be located on the engine radiator, on a high hose or on the body of the thermostat.
If the purge valves are above the maximum level of the coolant reservoir, it will be necessary to raise the reservoir or use a plastic bottle:
- Prepare a plastic bottle (1.5 L) with the previously cut bottom.
- Insert into the filler cap (seal the joint with a cloth).
- Fill the system with cooling liquid.
- Observe how air bubbles come out of the bottle and through the purge valves.
- Re-close the purge valve (s) as soon as liquid begins to flow continuously without air bubbles.
Next, the engine must be heated to expel the last traces of air trapped in the cooling circuit.
- Start the engine with the hood open ..
- Let the engine turn for a few seconds and then accelerate a first time.
- Observe the exit of air bubbles in the tank or in the bottle (expansion vessel).
- As the air is expelled, the level of the cooling liquid decreases and the level must be completed on the fly.
- Repeat the operation until there are no more air bubbles.
- Remove the bottle and close the deposit.
- Raise the temperature until the cooling fan is activated.
- When the fan stops, slowly open the reservoir to release the pressure.
- Complete the deposit up to its maximum level if necessary.
- Allow the engine to cool (approximately 4 hours).
- Check the cooling liquid level one last time.
To finish, it is necessary to rinse the remains of the cooling liquid carefully with water. Be careful not to water the ignition system and electronic components.
Here at JB Prestige Euro Automotive Service we take pride in providing the best services for European cars in our area.